
How to Detect Unauthorized Shared Folders on Windows
Shared folders on your Windows PC can be incredibly useful for transferring files between devices or collaborating with family members. However, unauthorized shared folders pose serious security risks, potentially exposing your personal files, photos, and sensitive data to anyone on your network, or worse, to hackers. If you’ve never checked which folders are shared on your computer, you might be surprised by what you find.
This guide walks you through detecting unauthorized shared folders on Windows 10 and Windows 11, securing your system, and preventing future security breaches.
Why Unauthorized Shared Folders Are Dangerous
When folders are shared without your knowledge, they create vulnerabilities in your home network security. Malware, viruses, or unwanted software can create hidden shares to steal your data or spread across connected devices. Even legitimate programs sometimes create shares you didn’t authorize.
Unauthorized network shares can expose your documents, family photos, financial records, and passwords to anyone connected to your Wi-Fi network. This includes neighbors who might access your unsecured network or malicious actors who’ve gained network access through compromised smart devices.
How to Check for Shared Folders on Windows 10/11
Strengthen Your PC Security with Fortect
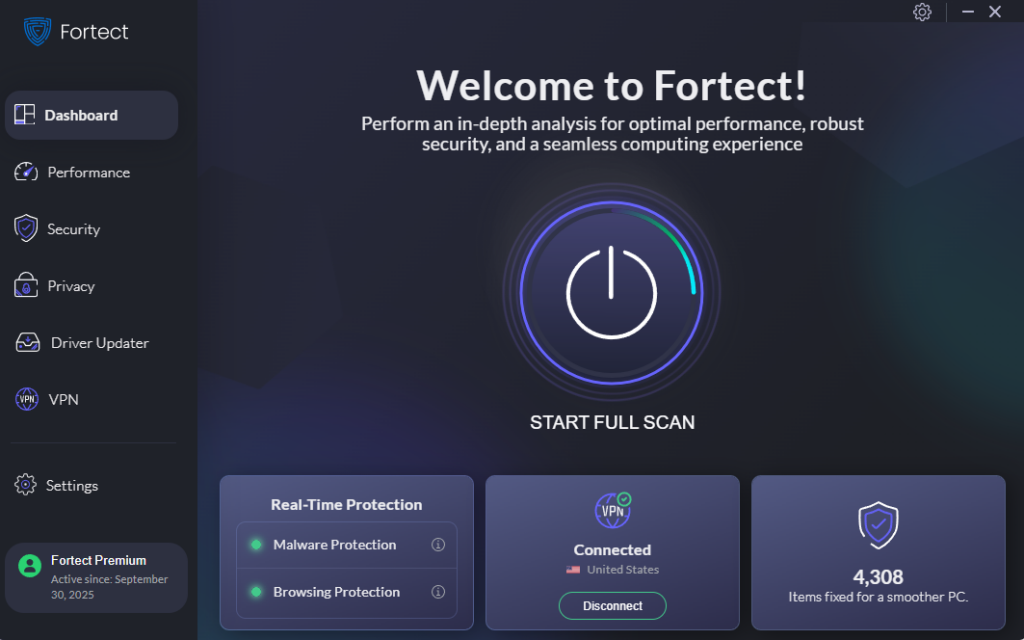
Fortect delivers advanced real-time malware protection for Windows users. It automatically scans your PC for traditional and emerging threats, including malware that creates unauthorized shared folders, eliminates them safely, and restores damaged system files for improved performance. Its smart threat-detection engine monitors suspicious activity and alerts you before harmful actions can take place, helping keep your device secure and running efficiently. While manual checking is essential, Fortect adds an extra layer of automated protection against threats that might silently create network shares to steal your data.
Download and install Fortect now.
Using Computer Management
The Computer Management tool provides the most comprehensive view of all shared folders on your system, including hidden administrative shares.
1: Press the Windows key and type “Computer Management” in the search bar. Click on the Computer Management app when it appears.
2: In the left sidebar, expand “System Tools” by clicking the arrow next to it.
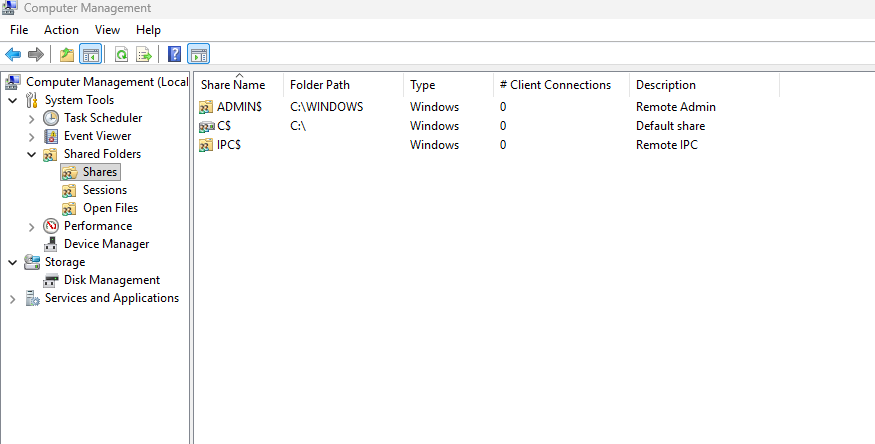
3: Expand “Shared Folders” to reveal three options: Shares, Sessions, and Open Files.
4: Click on “Shares” to view every folder currently shared on your computer. You’ll see the share name, folder path, type, and number of connected clients.
5: Review each shared folder carefully. Administrative shares ending with a dollar sign (like C$ or ADMIN$) are system defaults and generally safe. Look for any regular folders you don’t recognize or didn’t intentionally share.
Using Command Prompt
For a quick check, Command Prompt offers a faster alternative to view active shares.
1: Press Windows key + R to open the Run dialog box.
2: Type “cmd” and press Enter to launch Command Prompt.
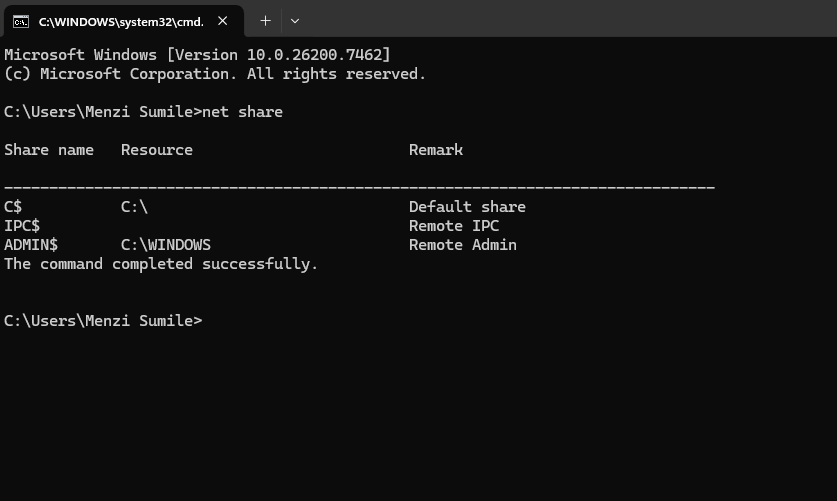
3: Type the following command and press Enter: net share
4: Review the list of shared resources displayed. Any entry without a dollar sign at the end represents a standard share that you or a program created.
Using File Explorer Properties
You can also check individual folder sharing status directly through File Explorer.
1: Open File Explorer by pressing Windows key + E.
2: Navigate to any folder you suspect might be shared.
3: Right-click the folder and select “Properties” from the menu.
4: Click on the “Sharing” tab at the top of the Properties window.
5: If the folder is shared, you’ll see the network path and an option to stop sharing. The “Advanced Sharing” button lets you view detailed permissions.
How to Remove Unauthorized Shared Folders
Once you’ve identified unauthorized shares, removing them is straightforward.
Removing Shares Through Computer Management
1: Open Computer Management following the steps outlined earlier.
2: Navigate to System Tools > Shared Folders > Shares.
3: Right-click on the unauthorized shared folder you want to remove.
4: Select “Stop Sharing” from the context menu.
5: Confirm the action when prompted. The folder will immediately stop being accessible over the network.
Removing Shares Through Folder Properties
1: Right-click the shared folder in File Explorer and select “Properties.”
2: Go to the “Sharing” tab.
3: Click the “Advanced Sharing” button.
4: Uncheck the box labeled “Share this folder.”
5: Click “Apply” and then “OK” to save your changes.
How to Prevent Unauthorized Folder Sharing
Disable Network Discovery
Disabling network discovery makes your computer invisible to other devices on your network, reducing the risk of unauthorized access.
1: Open Settings by pressing Windows key + I.
2: Click on “Network & Internet.”
3: Select “Ethernet” or “Wi-Fi” depending on your connection type.
4: Scroll down and click “Advanced network settings.”
5: Click “Advanced sharing settings.”
6: Under your current network profile (Private or Public), select “Turn off network discovery” and “Turn off file and printer sharing.”
7: Click “Save changes” at the bottom.
Enable Password-Protected Sharing
If you need to maintain some shares, always use password protection.
1: Access “Advanced sharing settings” using the steps above.
2: Scroll to “All Networks” at the bottom.
3: Select “Turn on password-protected sharing.”
4: Save your changes.
Use a Firewall
Windows Defender Firewall provides essential protection against unauthorized network access.
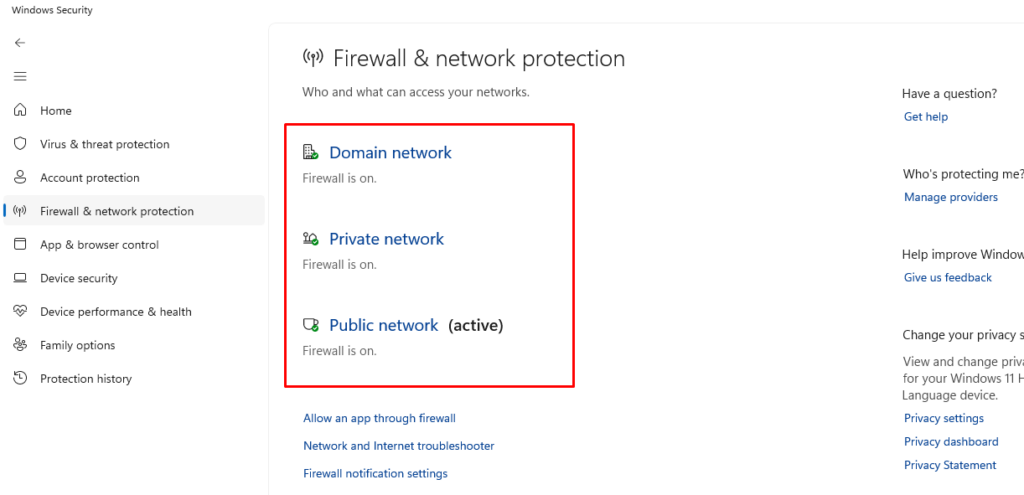
1: Type “Windows Security” in the search bar and open it.
2: Click “Firewall & network protection.”
3: Ensure your firewall is turned on for all network types (Domain, Private, and Public).
Regular Security Scans
Run regular antivirus scans to detect malware that might create unauthorized shares. Windows Security provides built-in protection, but third-party antivirus software offers additional features.
1: Open Windows Security from the Start menu.
2: Click “Virus & threat protection.”
3: Click “Quick scan” or “Scan options” for a full scan.
4: Follow the prompts to remove any detected threats.
Monitor Your Network Regularly
Make checking for unauthorized shared folders part of your monthly computer maintenance routine. Set a calendar reminder to review your shares using Computer Management. This simple habit can prevent data breaches before they happen.
Pay attention to unexpected network activity, slow computer performance, or unfamiliar devices appearing on your network. These signs might indicate someone is accessing your shared folders without permission.
Conclusion
Detecting and removing unauthorized shared folders is essential for protecting your personal data and maintaining home network security. By regularly checking your shared folders through Computer Management, disabling unnecessary network discovery, and enabling password protection, you can significantly reduce your vulnerability to data theft and malware infections.
Take a few minutes today to audit your shared folders. Your privacy and security are worth the effort.


