
System Service Exception Nvlddmkm.sys Error: 14 Ways to Fix It
You’ve come across the System Service Exception nvlddmkm.sys error, which usually triggers a Blue Screen of Death (BSOD) and forces your computer to restart.
This Windows error is often related to NVIDIA graphics card drivers or other system files. Don’t worry; I’ve got you covered with a list of solutions to help you fix this error and get your computer back to normal.
What causes the System Service Exception Nvlddmkm.sys error?
The main reason behind the system service exception Nvlddmkm.sys error is an outdated graphics driver. However, after searching for fixes, I also stumbled across several other reasons why this error can occur:
- Incomplete Windows Update: This happens following an unstable Windows update. Running Windows Update again to install missing or corrupt patches fixes it.
- Corrupted System Files: Whether it’s a power surge or failing hardware, Windows system files can be corrupted in many ways. Running the System File Checker (SFC) can help resolve this.
- Hardware Overheating: Poor ventilation and overclocking can cause components to overhead. Improving the cooling system resolves this issue.
- Faulty RAM Modules: A malfunctioning or incorrectly installed RAM stick can cause this. Running a RAM test and replacing the faulty module may be the only solution.
- Antivirus Software Conflict: Sometimes, an overactive antivirus can cause errors. Disabling the antivirus and running other fixes solves the problem.
- External Device Driver Conflict: Connecting new external devices can cause a conflict with existing devices like your GPU. Disconnecting the troublesome device and updating your drivers can fix this.
- Outdated BIOS Firmware: Over time, even your BIOS firmware can become outdated and cause problems on Windows. You can solve this by downloading the latest firmware from the manufacturer’s site and running an update during a reboot.
How to fix System Service Exception Nvlddmkm.sys?
- Update Graphics Drivers
- Run Windows Update
- Use a third party repair tool
- Run System File Checker (SFC)
- Check for Hard Drive Errors
- Run DISM
- Update BIOS
- Perform a Clean Boot
- Check for Overheating
- Disable Hardware Acceleration
- Restore Your System
- Check for Software Conflicts
- Run a Virus Scan
- Reinstall Windows
1. Update the Graphics Drivers
1. Right-click on the Windows Start button and navigate to Device Manager.
2. Locate the Display adapters section and expand it.
3. Right-click on your GPU graphics card and select Update driver.
4. Follow the on-screen instructions to search for and install the latest driver.
Additionally, you can rollback your GPU drivers to a more stable version if you encounter any problems.

2. Run Windows Update
1. Open Settings from the Start menu.
2. Navigate to Update & Security.
3. Click on Check for updates and install any available Windows updates.
Advice: Learn more about Windows Update disadvantages.
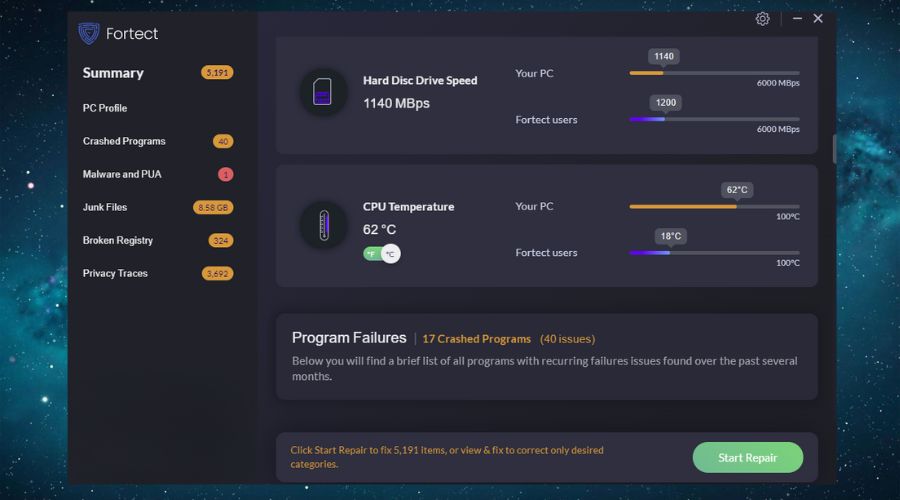
3. Use a third party repair tool
It is great to have a PC tune-up tool around at all times. After all, you’ll never know when something comes up and needs to be dealt with quickly. I prefer Fortect, but there are other great tune-up tools too.
1. Install Fortect on your PC.
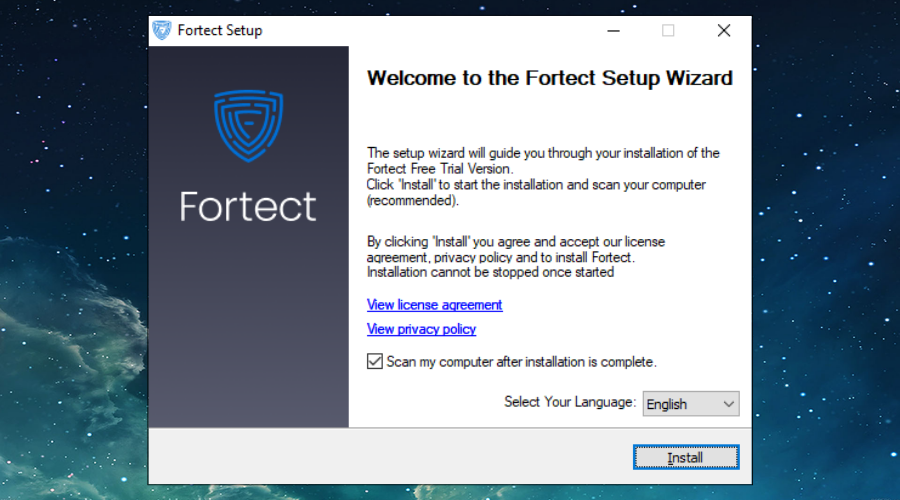
2. Install and Launch the software and Start scanning.
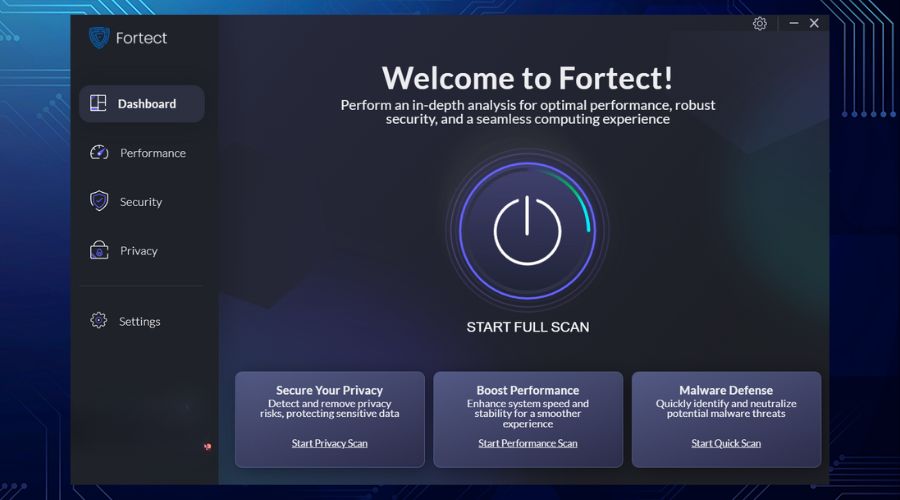
3. Fortect will detect the irregularities in your system and feature them for you.
4. Click on Start Repair to start the process of fixing your system’s errors.
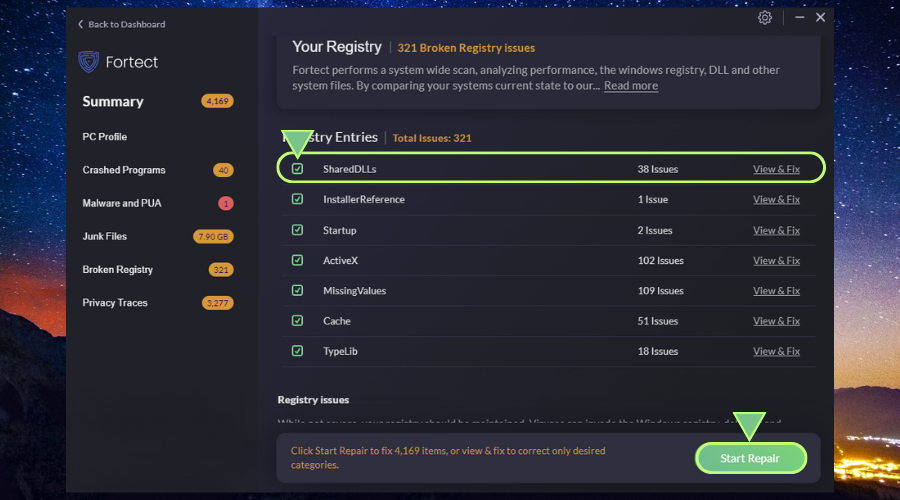
5. Once the process is over, restart your PC.
Tip: Stay away from the following malware prone tune-up software.
4. Run System File Checker (SFC)
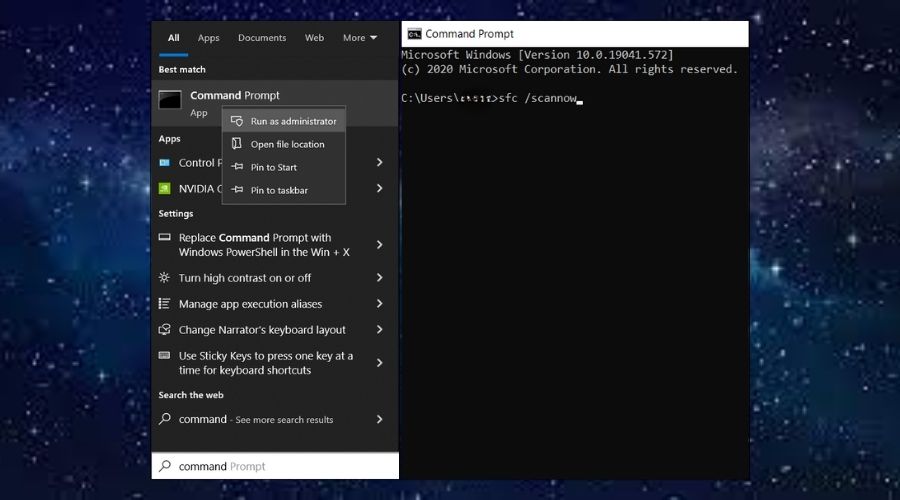
1. Open Command Prompt as an administrator from the Start menu.
2. Type sfc /scannow and hit Enter.
3. Wait for the scan to complete and follow any on-screen instructions.
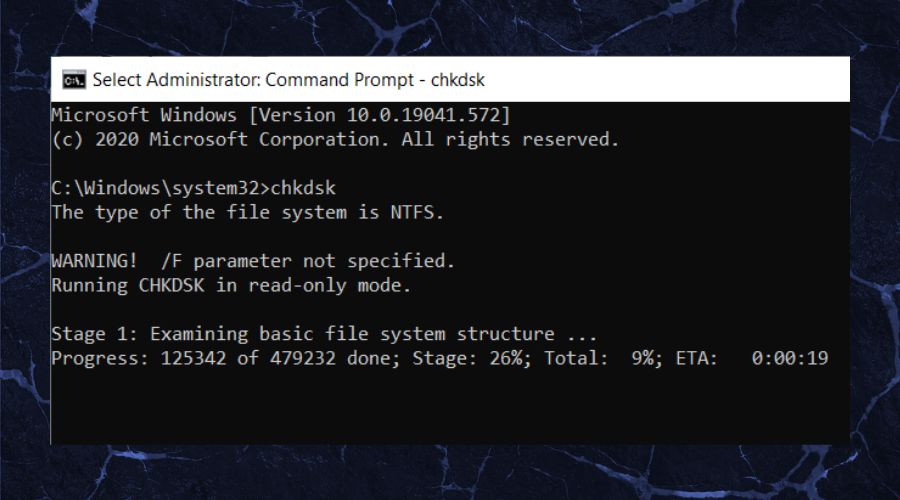
5. Check for Hard Drive Errors
1. Open Command Prompt as an administrator.
2. Type chkdsk /f and hit Enter.
3. Restart your computer to allow the check disk to run.
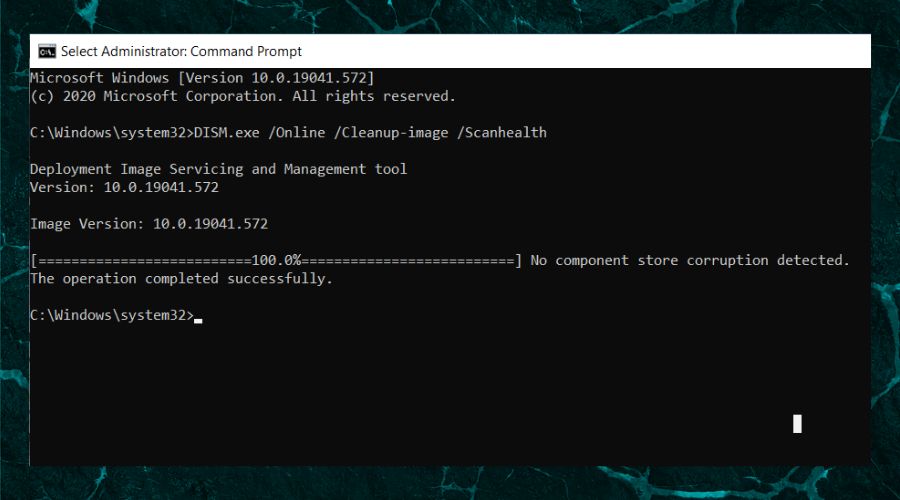
6. Run DISM
1. Open Command Prompt as an administrator.
2. Type DISM /Online /Cleanup-Image /RestoreHealth and hit Enter.
3. Wait for the process to complete.
7. Update BIOS
1. Visit your motherboard manufacturer’s website.
2. Download the latest BIOS update.
3. Follow the installation instructions carefully.
8. Perform a Clean Boot
1. Type msconfig in the Windows search bar and hit Enter.
2. Navigate to the Services tab.
3. Check the box for Hide all Microsoft services.
4. Click Disable all, apply the changes, and restart your computer.
Tip: Do not use this method if you tweaked your Windows updates, some people had problems with it.
9. Check for Overheating
1. Use software like Fortect to check your computer’s temperature.
2. Make sure your computer is in a well-ventilated area, the fans are working, and there is no dust build-up.
Overheating can cause BSOD on your device, thus you shouldn’t allow it to reach high temperatures.
10. Disable Hardware Acceleration
1. Open the settings menu of your web browser.
2. Locate and disable the Hardware Acceleration option.
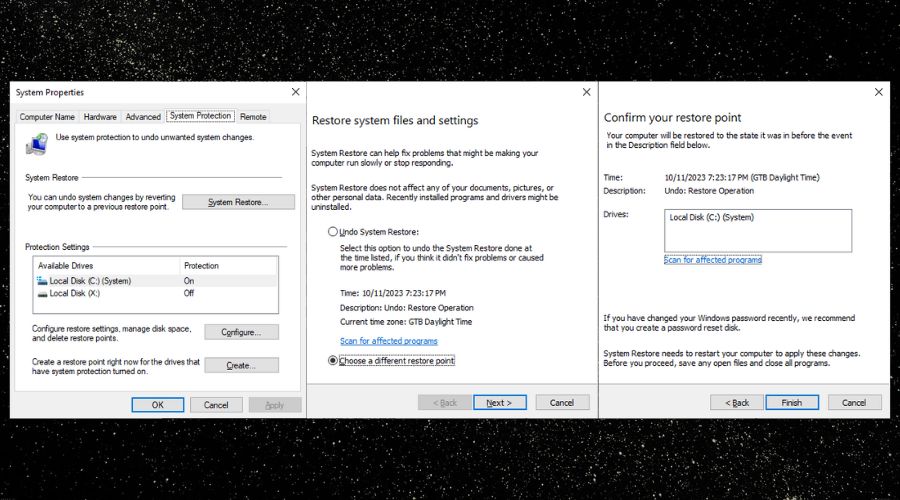
11. Restore Your System
1. Type restore in the Windows search bar.
2. Select Create a restore point.
3. Click on System Restore and follow the on-screen instructions to choose a restore point.
12. Check for Software Conflicts
1. Open Control Panel from the Start menu.
2. Navigate to Programs and Features.
3. Uninstall any recently installed or suspicious software.
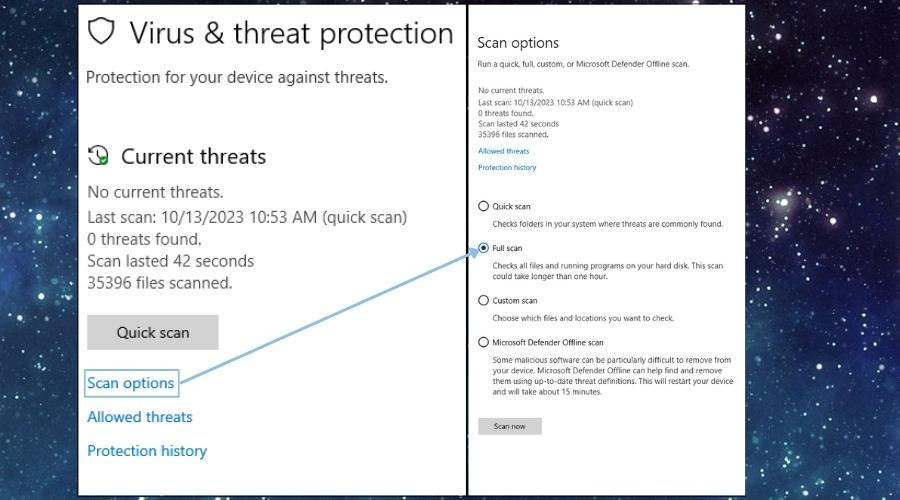
13. Run a Virus Scan
1. Open the Virus & threat protection menu
2. Select scan options and then tick the Full Scan.
3. Press Scan now and wait, it might take a while and your device might lag meanwhile.
Did you know that your antivirus can delete DLL files?
14. Reinstall Windows
1. Backup all your important files to an external drive.
2. Create a bootable USB drive with Windows installation files.
3. Restart your computer and boot from the USB drive to reinstall Windows.
The System Service Exception nvlddmkm.sys error can be a daunting issue, especially when it leads to the dreaded Blue Screen of Death. However, it’s important to remember that this error is usually symptomatic of underlying issues that are often straightforward to resolve. Whether it’s outdated drivers, software conflicts, or hardware issues, there’s usually a clear path to a solution. I’ve provided a comprehensive list of potential causes and corresponding solutions based on personal experiences, aiming to cover all the bases for you.


