
SOLVED: Windows 10/11 Won’t Shut Down Completely
When your Windows won’t shut down completely, it can be frustrating, especially if the PC looks like it’s off but continues to run in the background, keeps the fan spinning, or drains the battery. This issue is more common than you’d think, particularly on Windows 10 and 11, and it often stems from fast startup, outdated drivers, background processes, or system misconfigurations.
We will examine all possible causes and provide actionable solutions to help your computer power down completely, every time.
Why Your Windows PC Doesn’t Shut Down Properly
There are several reasons why Windows 10 or 11 won’t shut down completely, including:
- Fast Startup is enabled (it hibernates instead of fully shutting down)
- Windows Update is stuck in the background
- Background apps or processes refuse to terminate
- System drivers (like Intel Management Engine Interface) are misbehaving
- Corrupted system files
- Issues with third-party software or malware
How to Fix Windows 10/11 Won’t Shut Down
Disable Fast Startup
The Fast Startup feature is meant to make your PC boot faster, but it also prevents a full system shutdown.
How to disable Fast Startup on Windows 10/11:
- Press Windows + R, type control, and hit Enter.
- Go to Hardware and Sound > Power Options.
- Click Choose what the power buttons do on the left sidebar.
- Select Change settings that are currently unavailable.
- Under Shutdown settings, uncheck Turn on fast startup (recommended).
- Click Save changes.
- Restart your PC and try shutting it down again.
Run Windows Update
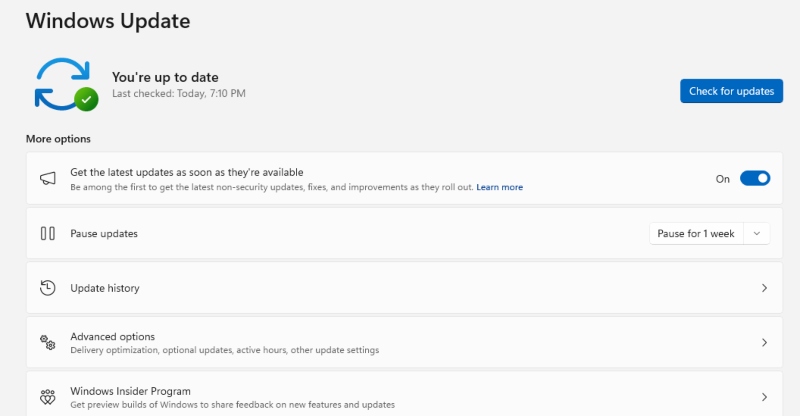
Sometimes, Windows won’t shut down completely because it’s waiting for updates to finish.
How to update Windows:
- Press Windows + I to open Settings.
- Go to Update & Security (Windows 10) or Windows Update (Windows 11).
- Click Check for updates.
- If updates are available, install them and restart your computer.
- Try shutting it down afterward to see if the issue is resolved.
Force Shutdown via Command
If your PC is stuck or won’t shut down from the Start menu, try a command-line method.
Steps to shut down using Command Prompt:
- Press Windows + X, then select Windows Terminal (Admin) or Command Prompt (Admin).
- Type the following command and press Enter: shutdown /s /f /t 0
- This forces a full shutdown immediately by terminating all running processes.
Check for Background Processes
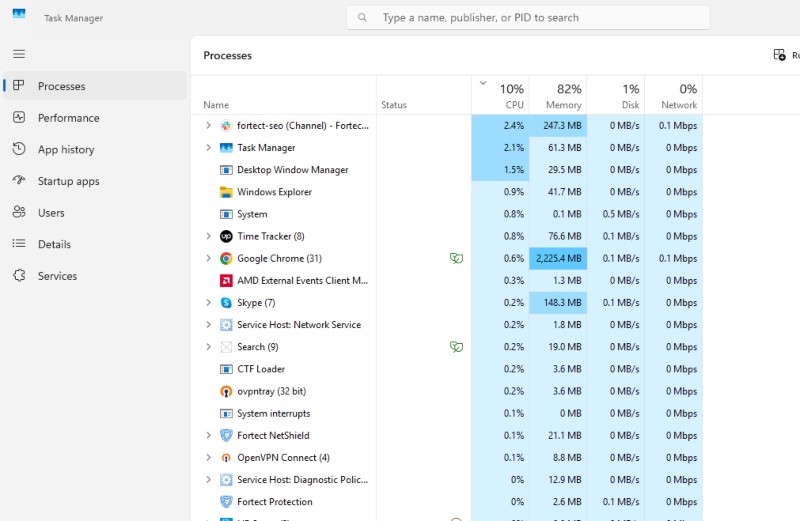
Background services or apps can block Windows from shutting down properly.
How to manage startup and background apps:
- Press Ctrl + Shift + Esc to open Task Manager.
- Check for high-CPU or memory-consuming apps under the Processes tab.
- Right-click and choose End Task on anything unnecessary.
- Switch to the Startup tab and disable non-essential apps from launching automatically.
Update or Reinstall Drivers
Incompatible or outdated drivers, especially for graphics or Intel chipsets, can prevent proper updating drivers can fix the issue.
How to update drivers:
- Press Windows + X and select Device Manager.
- Expand categories like System Devices or Display adapters.
- Right-click and choose Update driver.
- Select Search automatically for drivers.
- Repeat for key devices such as Intel Management Engine Interface, GPU, and network adapters.
I suggest investing in a third-party PC Repair with an automatic driver updater such as Fortect.
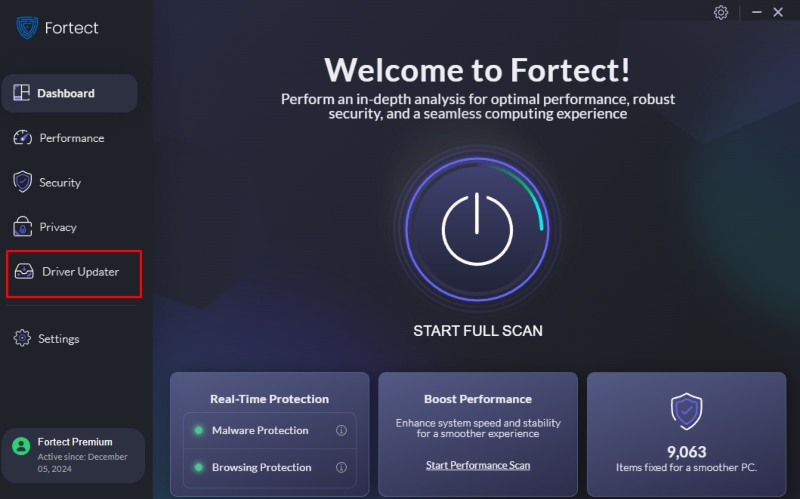
Fortect is an anti-virus with real-time malware protection and a built-in driver updater feature. It automatically scans all installed drivers and identifies which ones are outdated and corrupted and automatically updates them while optimizing your Windows PC.
Download and install Frotect now.
Scan for Corrupted System Files
Corrupted system files can interfere with shutdown processes.
Run SFC and DISM:
- Open Command Prompt as Administrator.
- Run the System File Checker: sfc /scannow
- After it completes, run the DISM tool: DISM /Online /Cleanup-Image /RestoreHealth
- Restart your computer after the scans and check if the shutdown issue persists.
Additional Fixes You Can Try
If the issue continues, consider the following advanced fixes:
Disable Intel Rapid Storage Technology
- Press Windows + R, type services.msc, and hit Enter.
- Find Intel Rapid Storage Technology in the list.
- Right-click and choose Properties.
- Set Startup type to Disabled, then click Stop and Apply.
Check Group Policy (For Pro Versions)
- Press Windows + R, type gpedit.msc, and hit Enter.
- Navigate to:
Computer Configuration > Administrative Templates > System > Shutdown - Make sure nothing is configured to block shutdown or restart behavior.
Perform a Clean Boot
- Press Windows + R, type msconfig, and press Enter.
- Under the Services tab, check Hide all Microsoft services.
- Click Disable all.
- Go to the Startup tab and open Task Manager.
- Disable all startup items.
- Restart your PC and try shutting it down.
How to Prevent Windows Shutdown Issues in the Future
- Avoid forcing shutdowns unless necessary
- Keep Windows and drivers updated regularly
- Remove unnecessary software that runs in the background
- Use antivirus tools to check for malware or worms that could affect the shutdown
- Back up your system so you can easily restore if things go wrong


