
SOLVED: Webcam Not Detected by Windows
A non-functioning webcam on Windows can be frustrating, especially during virtual meetings or online classes. If Windows fails to detect your webcam, various factors could be at play, including outdated drivers, privacy settings, or hardware issues. We will provide step-by-step troubleshooting methods to fix the problem on Windows 10.
Why Windows Doesn’t Detect Your Webcam
Several reasons may cause Windows to fail to recognize your webcam:
- Outdated or corrupt drivers – Webcam drivers may need updates or reinstallation.
- Privacy restrictions – Windows privacy settings may block camera access.
- Faulty connections – Loose or defective USB ports can prevent detection.
- Software conflicts – Other applications may interfere with the webcam.
- Disabled device – The webcam may be disabled in Device Manager.
How to Fix Webcam Not Detected in Windows 10
Follow these troubleshooting steps to resolve the issue.
1. Check Webcam Connection
- If using an external webcam, ensure it’s properly plugged into a working USB port.
- Try connecting to a different USB port.
- Test the webcam on another PC to verify if it’s working.
2. Allow Camera Access in Privacy Settings

Windows privacy settings may prevent apps from accessing your webcam. To enable it:
- Press Win + I to open Settings.
- Go to Privacy > Camera.
- Ensure Camera access for this device is turned on.
- Enable Allow apps to access your camera.
- Scroll down and make sure the necessary apps have permission.
3. Enable Webcam in Device Manager
If your webcam is disabled, you need to re-enable it:
- Press Win + X and select Device Manager.
- Expand Imaging Devices or Cameras.
- Right-click your webcam and select Enable device (if available).
4. Update or Reinstall Webcam Drivers
Outdated drivers can cause detection issues. To update drivers on your Windows PC:
- Open Device Manager.
- Expand Cameras.
- Right-click your webcam and select Update driver.
- Choose Search automatically for drivers.
If updating doesn’t work, try reinstalling:
- Right-click your webcam in Device Manager.
- Select Uninstall device and confirm.
- Restart your PC, and Windows will reinstall the driver automatically.
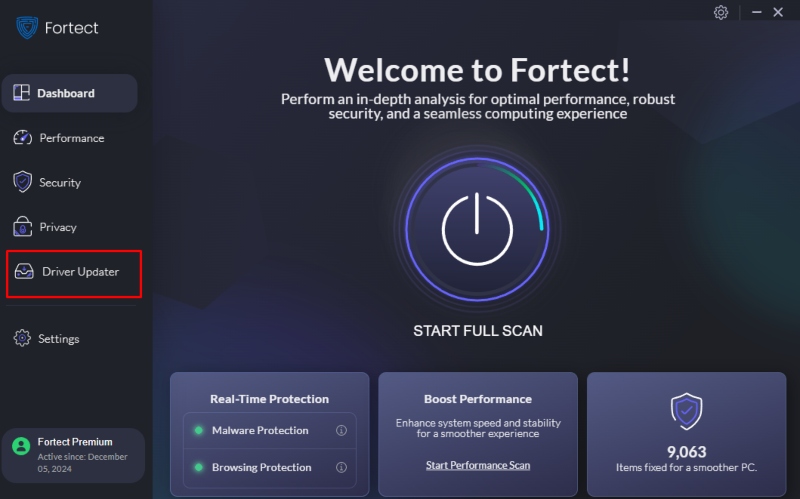
Quick Tip: Keeping all drivers up to date can prevent webcam issues. Instead of manually updating drivers, you can use Fortect, an all-in-one PC repair tool with a built-in driver updater. Fortect automatically scans and updates outdated or corrupted drivers while optimizing your system’s performance. It also includes real-time malware protection to keep your PC secure.
Download Fortect now.
5. Check for Windows Updates
A system update can fix webcam issues caused by bugs:
- Open Settings with Win + I.
- Go to Update & Security > Windows Update.
- Click Check for updates and install any pending updates.
6. Close Conflicting Apps
Certain applications like Zoom, Skype, or Teams might block access to your webcam:
- Press Ctrl + Shift + Esc to open Task Manager.
- Look for apps using the webcam and close them.
- Restart your webcam application.
7. Run the Windows Troubleshooter
Windows provides a built-in troubleshooter to diagnose webcam problems: To run Windows troubleshooter:
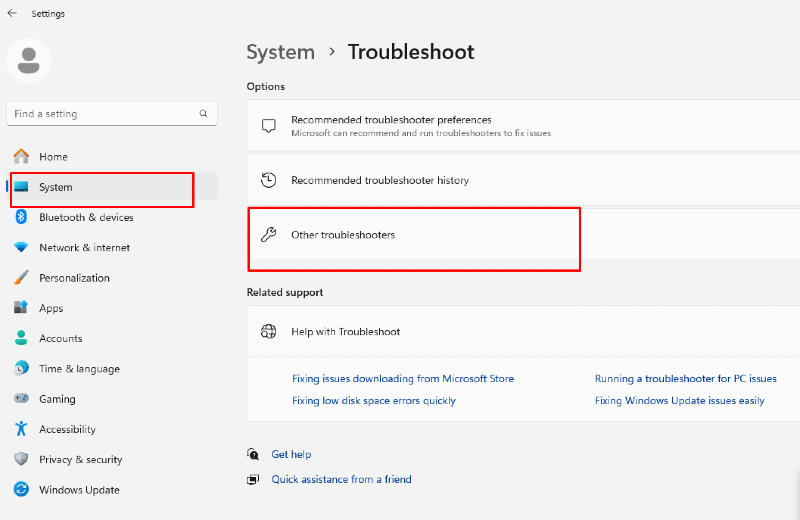
- Open Settings and go to Update & Security or System
- Click Troubleshoot > Additional or Other troubleshooters.
- Select Camera and click Run the troubleshooter.
8. Modify Registry Settings (Advanced Users)
If none of the above solutions work, modifying the registry may help:
- Press Win + R, type regedit, and hit Enter.
- Navigate to: HKEY_LOCAL_MACHINE\SOFTWARE\Microsoft\Windows Media Foundation\Platform.
- Right-click and select New > DWORD (32-bit) Value.
- Name it EnableFrameServerMode and set its value to 0.
- Restart your computer.
Conclusion
A non-detectable webcam in Windows 10 can result from driver issues, privacy settings, or software conflicts. By following these troubleshooting steps, you can restore camera functionality. If your webcam is still not working, consider replacing the device or contacting support for further assistance.


