How to Fix “Automatic Repair Couldn’t Repair Your PC” ( Windows 10/11 )
To fix the “Automatic Repair couldn’t repair your PC” error on Windows 10 or 11, try running System Restore, booting into Safe Mode, repairing corrupted boot records, and using DISM and SFC commands to restore damaged system files. You can also disable problematic startup features, reset your PC, or use Fortect to diagnose and repair system issues automatically.
These troubleshooting methods can help resolve boot failures caused by corrupted files, driver problems, malware, disk errors, or Windows update issues.
Why is this happening?
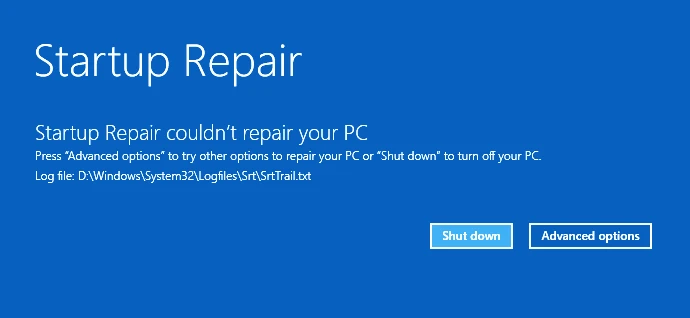
Windows Auto Repair is a built-in utility designed to automatically fix issues that may prevent Windows from booting correctly. It scans for and resolves problems with system files, drivers, and other critical components.
When triggered, Auto Repair attempts to diagnose and rectify issues without user intervention, aiming to restore the operating system’s functionality.
Your computer displaying the message “Automatic Repair/Startup Repair couldn’t repair your PC” during boot-up can result in several issues.
Here are some common causes:
- Hardware issues
- Outdated or incompatible drivers
- Missing or corrupted boot record
- Virus or malware attacks
- Disk errors on the hard drive
- Corrupt Windows Boot Manager file
- Windows update issue
You’ve learned the common causes of this issue; below is a straightforward fix.
Fix Automatic Repair Couldn’t Repair Your PC
1. Perform System Restore
Performing a System Restore can revert your computer to a previous state where it was functioning correctly.
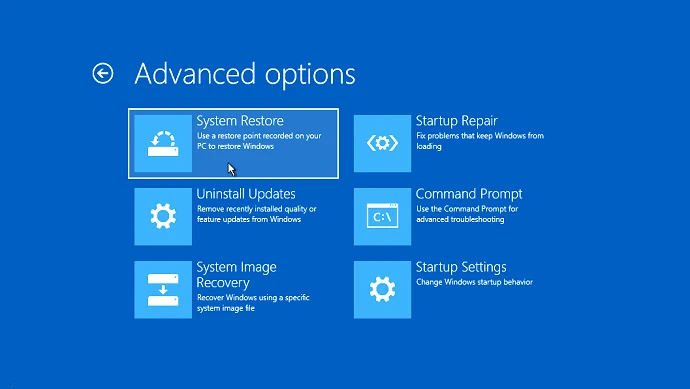
Here’s how:
- Boot your computer into the Advanced Startup Options menu by repeatedly pressing F8, Shift + F8, or F11 during startup.
- Select “Troubleshoot” > “Advanced options” > “System Restore.”
- Follow the on-screen instructions to choose a restore point and start the restoration process.
2. Troubleshoot in Safe Mode
Booting into Safe Mode allows you to troubleshoot and fix issues that typically prevent Windows from starting.
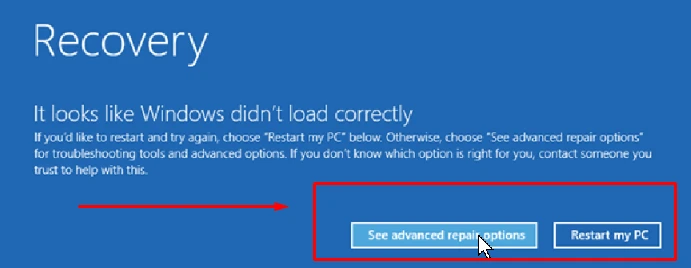
- Access the Advanced Startup Options menu as described above.
- Select “Troubleshoot” > “Advanced options” > “Startup Settings” and click “Restart.”
- Once your computer restarts, press F4 to boot into Safe Mode.
You can update drivers, uninstall problematic software, and run antivirus scans from here.
3. Repair Boot Records
Corrupted boot records can prevent Windows from starting correctly. Repairing them might resolve the issue.
- Boot into the Advanced Startup Options menu.
- Select “Troubleshoot” > “Advanced options” > “Command Prompt.”
- In the Command Prompt window, type the following commands one by one, pressing Enter after each:
bootrec /fixmbr
bootrec /fixboot
bootrec /scanos
bootrec /rebuildbcd
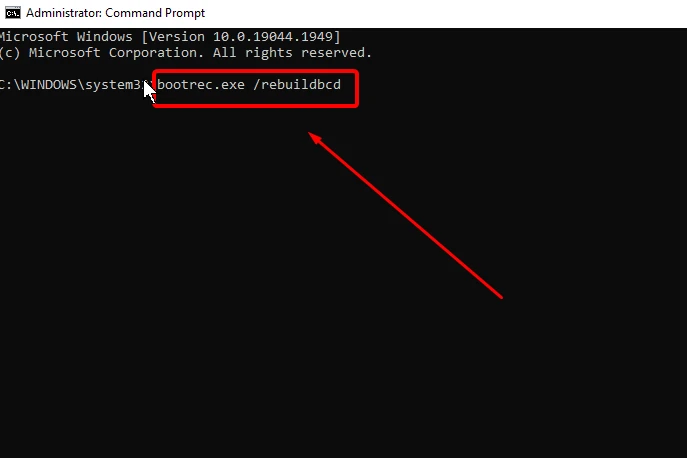
4. Restart your computer and check if the problem is resolved.4. Disable Automatic Restart After Failure
Disabling automatic restart can help you diagnose the problem by allowing you to see error messages that would otherwise be missed.
- Boot into the Advanced Startup Options menu.
- Select “Troubleshoot” > “Advanced options” > “Startup Settings” and click “Restart.”
- Once your computer restarts, press F9 to turn off automatic restart after failure.
5. Use Fortect for Automatic Repair and Protection
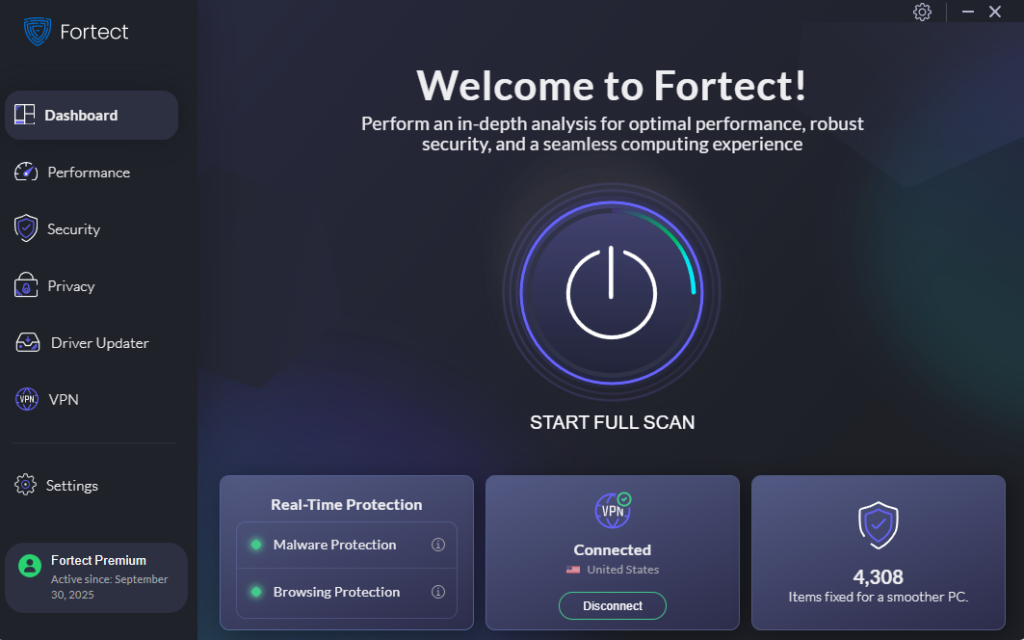
Fortect helps diagnose and repair system issues that cause the “Automatic Repair couldn’t repair your PC” error. Its advanced repair tools can fix corrupted system files, malware damage, boot problems, and other Windows issues while providing real-time protection against threats.
With Fortect Premium, you can run full system scans to detect malware, potentially unwanted applications (PUAs), and other problems affecting your PC’s performance and stability.
Download and install Fortect now to repair and protect your PC.
5. Disable Early Launch Anti-Malware Protection
Sometimes, the Early Launch Anti-Malware Protection feature can interfere with the startup process. Disabling it might help. This action only suspends malware protection during the boot process, restoring your antivirus security once Windows starts successfully.
Boot into the Advanced Startup Options menu.
Select “Troubleshoot” > “Advanced options” > “Startup Settings” and click “Restart.”
Or this route: access Startup Settings and select “Disable early launch anti-malware protection.
Once your computer restarts, press F8 to turn off early launch anti-malware protection.
6. Run DISM and System File Checker
- Corrupted system files can be repaired using the Deployment Imaging Service and Management Tool (DISM) and System File Checker (SFC).
- Access the Startup Repair option by navigating to Troubleshoot > Advanced options.
- Initiate the process by clicking the Restart button.
- Upon restarting, select “Enable Safe Mode with Networking” from the list of choices.
- Once in Safe Mode, obtain an updated version of the problematic driver from the manufacturer’s website and save it to a USB flash drive for installation.
- Boot into the Advanced Startup Options menu.
- Select “Troubleshoot” > “Advanced options” > “Command Prompt.”
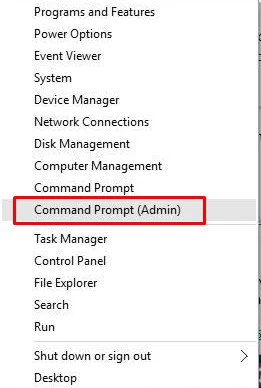
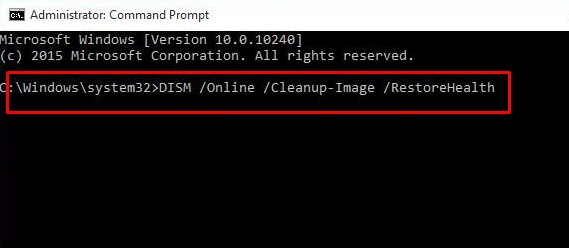
- In the Command Prompt window, type the following commands one by one, pressing Enter after each:
DISM /Online /Cleanup-Image /RestoreHealth
7. Reset Your PC
If all else fails, resetting your PC can resolve the issue by reinstalling Windows while keeping your files.
- Boot into the Advanced Startup Options menu.
- Select “Troubleshoot” > “Reset this PC.”
- Choose “Keep my files” or “Remove everything” based on your preference.
- Follow the on-screen instructions to complete the reset process.
How long does automatic repair take on Windows 10 and 11?
The duration of system restoration on Windows 11, similar to Windows 10, varies based on several factors, including the complexity of the issues being addressed and the hardware specifications of your computer.
Here’s a detailed look at the potential time frames:
Minor Issues
For simple problems like fixing a few corrupted files or resolving minor boot issues, the automatic repair process on Windows 11 typically takes 15 to 30 minutes.
Moderate Issues
It might take about an hour if the repair involves addressing many corrupted files or more complex configuration issues. This includes tasks like fixing disk errors or repairing system files.
Severe Issues
The repair process could extend to several hours in cases of significant system corruption, extensive disk errors, or hardware issues. This is often the case when the system performs in-depth scans and comprehensive repairs.
Hardware Impact
Your computer’s hardware heavily influences the duration of the automatic repair process. Systems with faster processors, solid-state drives (SSDs), and ample RAM will complete the repair process quicker than those with slower components or traditional hard disk drives (HDDs).
System Reinstallation
If the automatic repair process fails and you decide to reinstall Windows 11, the time required can vary. A clean install of Windows 11 typically takes about 20 to 40 minutes. However, reinstalling applications and restoring backup data can add more time.
Persistent Issues
If the automatic repair takes an unusually long time or gets stuck, it may indicate more serious underlying problems. In such scenarios, advanced troubleshooting techniques might be necessary, such as booting into Safe Mode, performing a System Restore, or manually reinstalling Windows 11.
As with Windows 10, patience is critical during the automatic repair process on Windows 11. If the process is excessively long or unresponsive, consider seeking further technical support or using advanced repair options provided by Fortect.
_________________________________________________________________________________________________________
Updated August 2026, originally published May 2024